Improvement of website performance - Use of AWS Content Delivery Network
My Struggle
As my travel blog mainly shares many travel photos, it requires more network capacity for users. To make this faster, instead of only providing photos from a single server, I decided to integrate AWS CloudFront. This way, photos are served from a server closer to the user’s browser location.
Use of CDN
Why AWS CloudFront?
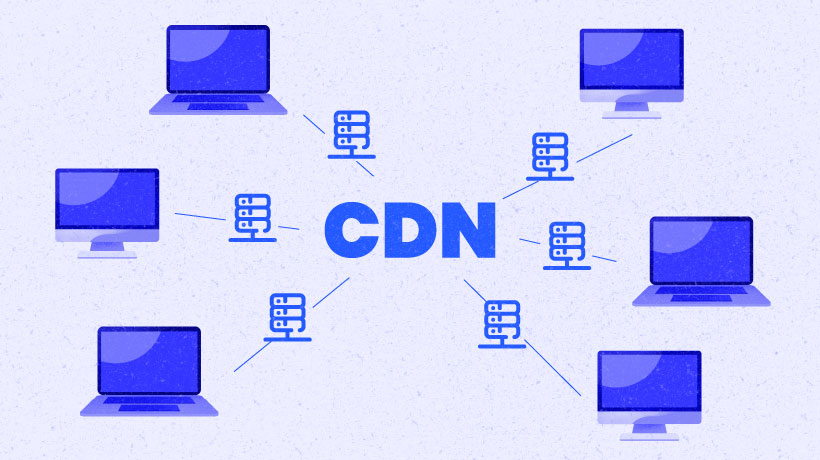
AWS CloudFront is a Content Delivery Network (CDN) service that ensures faster and more efficient delivery of website content to users. By distributing content through a global network of edge locations, it reduces latency and minimizes load times. For a travel blog with heavy photo content, CloudFront not only optimizes user experience by serving content from servers close to their geographical locations, but it also helps reduce the load on the origin server.
One of the best things about CloudFront is its free tier, which makes it accessible for beginners and small-scale projects. This tier provides up to 1 TB of data transfer out, 10 million HTTP/S requests, and 2 million CloudFront function invocations each month, making it an ideal choice for those starting out or looking to cut down costs while delivering high performance. Additionally, CloudFront seamlessly integrates with other AWS services, offering robust security features like DDoS protection and SSL/TLS encryption for secure data transmission
Step of building the CloudFront
Step 1 - Set Up an Account:
If you don’t already have one, create an AWS account by visiting the AWS Management Console. This will give you access to all AWS services, including CloudFront.
Step 2 - Obtain a Certificate Using AWS Certificate Manager:
Navigate to AWS Certificate Manager and request or import an SSL/TLS certificate. This ensures secure connections between CloudFront and your users’ browsers, especially when serving media-heavy content.
Step 3 - Create a CloudFront Distribution
Go to the CloudFront console and create a new distribution. Specify your origin domain (penguingogo.com for my case).
Step 4 - Use CloudFront to Connect to Your Domain
After setting up your CloudFront distribution, configure the alternate domain name (CNAME) in the CloudFront settings to match your blog’s custom domain. I used fast.penguingogo.com in this case.
Step 5 - Ensure your distribution is updated to use the SSL/TLS certificate obtained earlier
Update DNS Settings In your domain registrar’s DNS settings, create a CNAME record that maps your blog’s domain name to the CloudFront domain name provided by AWS. Once updated, users visiting your site will be redirected to the CloudFront distribution, enhancing speed and performance.