Setting up mailbox under your domain name - Zoho Mail
My Struggle
After setting up my own personal blog and a few other websites, I started thinking about promotion.
The first and easiest step that came to mind was creating a mailbox under my own domain name—because it looks cool! Haha. Plus, it looks much more professional than sending emails from a Gmail account or another email provider.
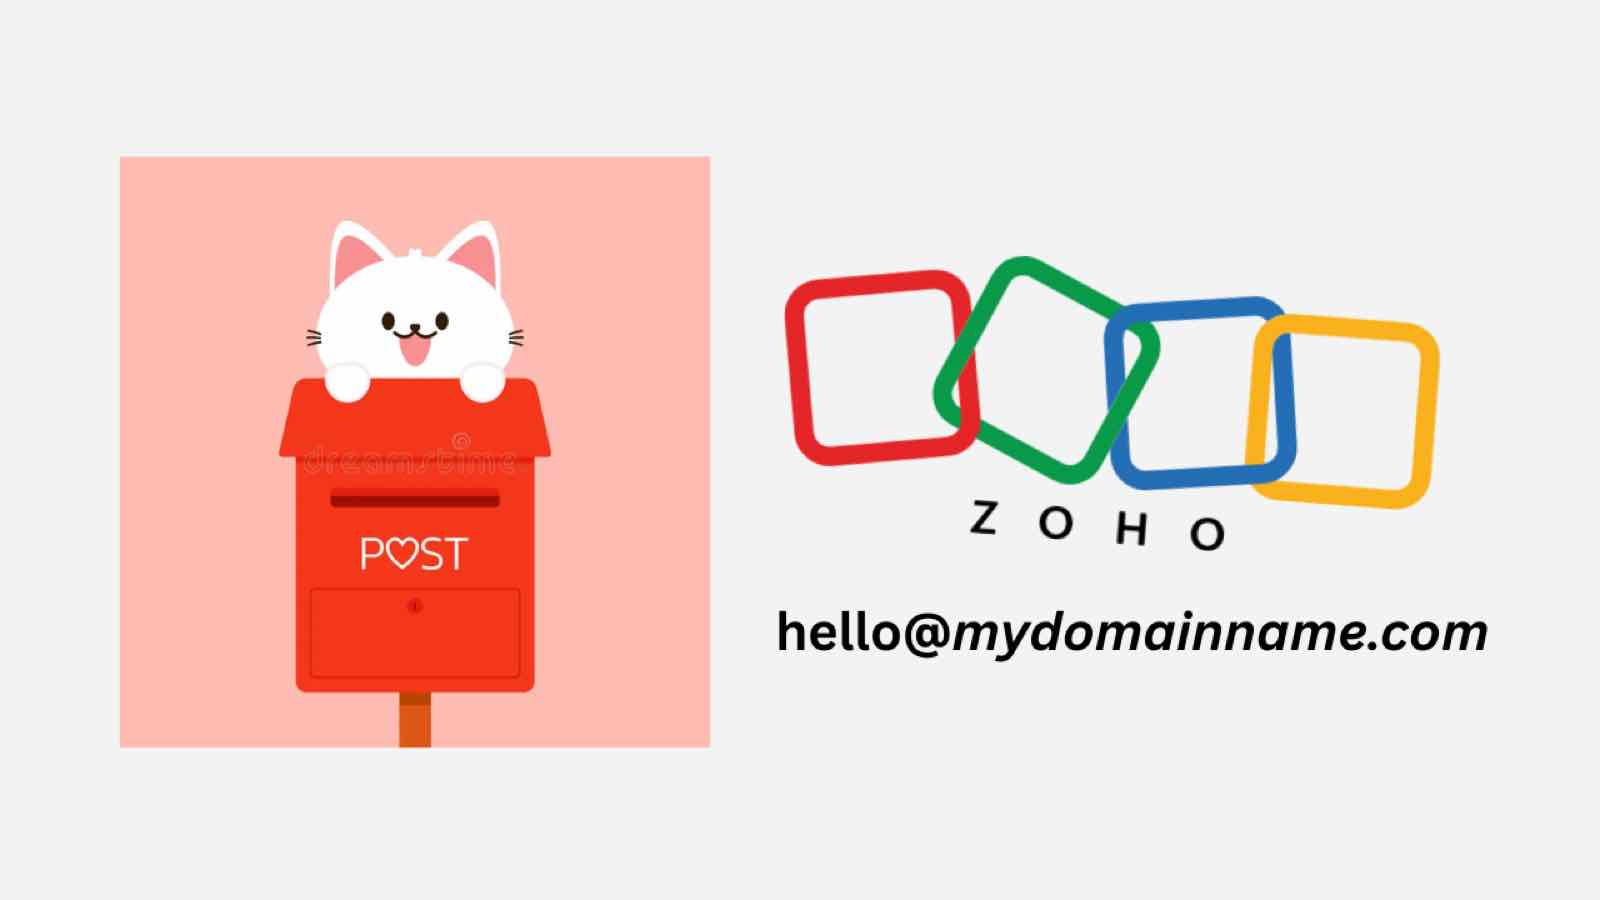
Setting Up a Mailbox for Your Domain Name with Zoho Mail
To set up a custom mailbox that allows sending emails, I researched various email hosting services.
Since these are just small projects and websites for me, I wanted a solution that was either free or very affordable. Eventually, I found that Zoho Mail was a great option—they offer a free plan that allows you to create one custom domain email address.
Here is the link:
Zoho Custom Domain Email Address
To set it up, simply follow the guide in the Zoho Mail link. You will also need access to your DNS configuration. Since Zoho Mail requires verification of domain ownership and provides spam screening and mailbox hosting settings, you must configure the necessary TXT and MX records in your DNS. Once Zoho Mail verifies these settings, your mailbox will be ready to use.
My use-case
For me, I simply set up a “hello@penguingogo.com” by following the steps, and it worked well which I can send email under this mail address and also receive email. My next step will be setting up a subscription box in my website!
My Thoughts
The whole setup process was surprisingly straightforward and very responsive—I think it only took me about five minutes to create my mailbox! And since it’s free, I highly recommend it to anyone looking for an easy email solution.